

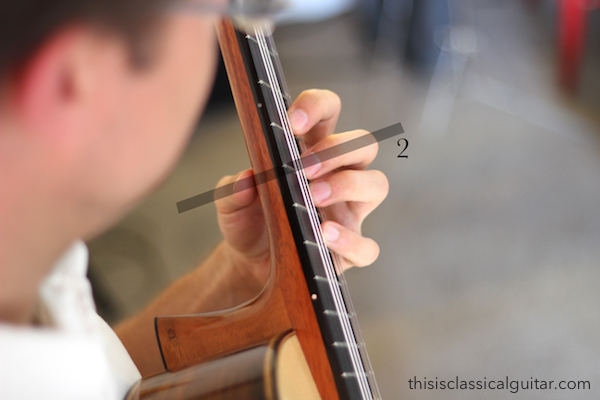
Question: How do I not mute adjacent strings with the left hand when playing chords and arpeggios on classical guitar? More specifically, when practicing Giuliani Arpeggios, the 4th string D gets partially muted by my left hand 2nd finger that is playing B on the 5th string. This happens no matter how hard I try to use the tip of my fingers to play. Is it okay to lift the 2nd finger off and place it back when needed?
Answer Summary: The usually fix for left hand clearance issues is to make a series of tiny adjustments to a variety of positions which results in a significant improvement. Small adjustments, sometimes only millimetres to your posture, guitar position, guitar angle, and left hand alignment is enough to create the few millimetres of clearance needed to avoid muting the string below. This is more ideal than lifting the finger unnecessarily.
Let’s explore the adjustments in more detail.
Tips and Lessons Regarding Guitar Position
Check this this lesson on: 6 Common Technique Problems Solved with a Better Guitar Position (video below). My biggest piece of advice for this issue in presented in the this video, all the advice in this video is relevant, but specially see the video at minute 10:18.
Practical Tips
Guitar Position: Double check your guitar position making sure the headstock is around eye level. This might seem a bit high but it’s a general guideline. You can see my Guitar Position Lesson and also my Q&A on Headstock at Eye Level.
Tilt the guitar – Tilt the face of the guitar to a steeper angle (up and down rather than leaning toward you on the upper bout). This is the advice in the video at 10:18 above.
Left Hand Lesson – See my full lesson for the left hand here: Left Hand Position for Classical Guitar.
Play on the tip of the fingers – Playing on the tip of the finger is important but the other factors mentioned in the video are essential to the solution. Playing on the fingertips alone will not necessarily result in enough clearance.
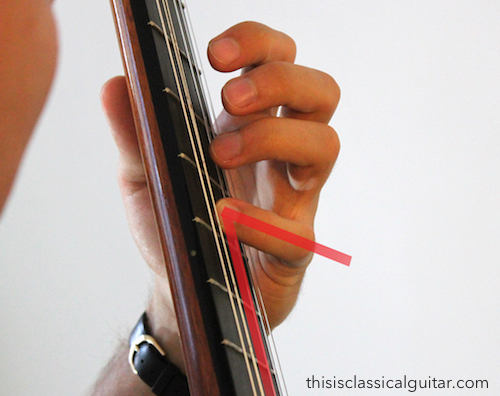
Align the knuckles of the left hand – The left hand must be aligned with the strings otherwise the fingers will come in at an angle which reduces clearance of the strings below. This is more relevant to the 4th finger but still applies to all fingers. This will result in angled fingers on finger 1 and 4.
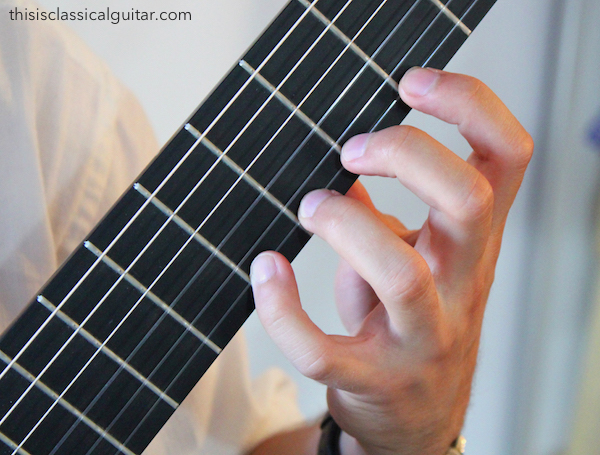
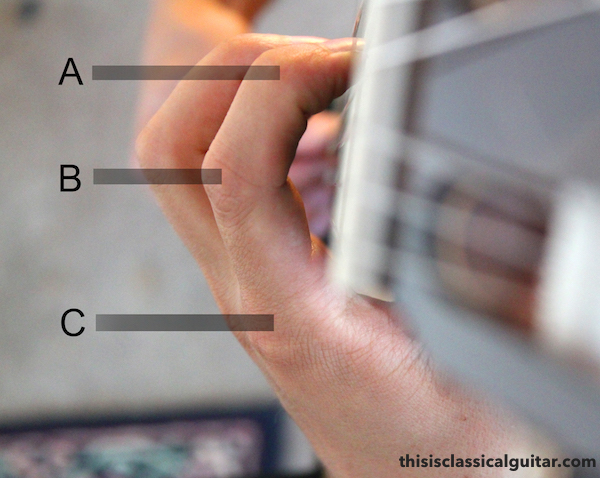
Curve the fingers – You must also have the neck of the guitar up high enough that you can curve your fingers properly.
A = Curvature at the tips joint
B = Curvature at the middle joint
C = Curvature at the knuckle
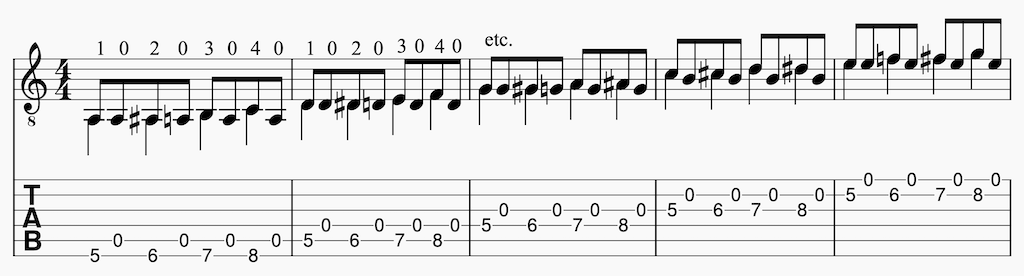
A great exercise to practice
A great exercise to practice is a basic four finger placement exercise with open strings below.
- Play the left hand fingers 1-2-3-4 on one-finger-per-fret.
- After each finger play the open string below.
- This will create a situation to check your clearance ability with each finger
- Start in the 5th position but once you feel confident play it at all frets to check your clearance.
Download a free PDF of this exercise here.
Questions & Support
If you need clarification on this particular Q&A please leave a comment below. For new and existing questions please visit the main Classical Guitar Q&A page. If you are enjoying the free Q&As you can support the site here.


Many thanks for this response to my Q&A questions. I figured you would say that it is better to not lift left-hand fingers just to avoid inadvertant mutuing.
Prior to submitting this question, I had actually watched your excellent video (pure gold!) months earlier and in my sheet music, I actually wrote “lean” next to the passages where I was prone to inadvertant muting (meaning lean forward to tilt the guitar away from my body).
My headstock is probably just a little too low, so I will make that adjustment. Also, I will slow down my practice until the muscle memory is formed… which doesn’t happen quickly at 60!
Thanks again for all your help.
— Steven
Tiny adjustments to a number of places can make a big difference. But just tiny millimetres!
I have played guitar for a long time. Recently, as I have aged (now 76), the pads of my left hand fingers are much thinner. I’ve tried cutting back the nails to the quick but I still can’t get my finger ends onto the fretboard without the nail holding the finger off a little. This has affected my playing a lot recently. Any thoughts?
Maybe you need some tiny readjustments to posture, guitar position, and placement accuracy? Difficult to say without seeing it. Feel free to send me an email with a picture.